If you’ve gone down the Media kit rabbit hole, AKA – looking through hundreds of examples trying to find the best ones that work for your brand, this post is for you.
Do you know what I realized about the “perfect” media kit? It doesn’t exist. The truth is, there is no one “perfect media kit.” Every media kit will be different depending on who YOU are, your preferences, what you can offer, and how you choose to present and position yourself in front of brands.
So what does this mean? Tons of customization options and time for you to get creative with the best of what you want to showcase 🤩
Ultimately, it is great to have an outline, especially one that is proven to work! I highly recommend checking out templates that your favorite creators are using to secure brand deals, and using that as a guide for creating your own.
I created my own Media kit by taking inspiration from other creators, brands, and expert opinions. Currently, I have two brand deals in the works, and already completed an exciting one with a personalized passport company!
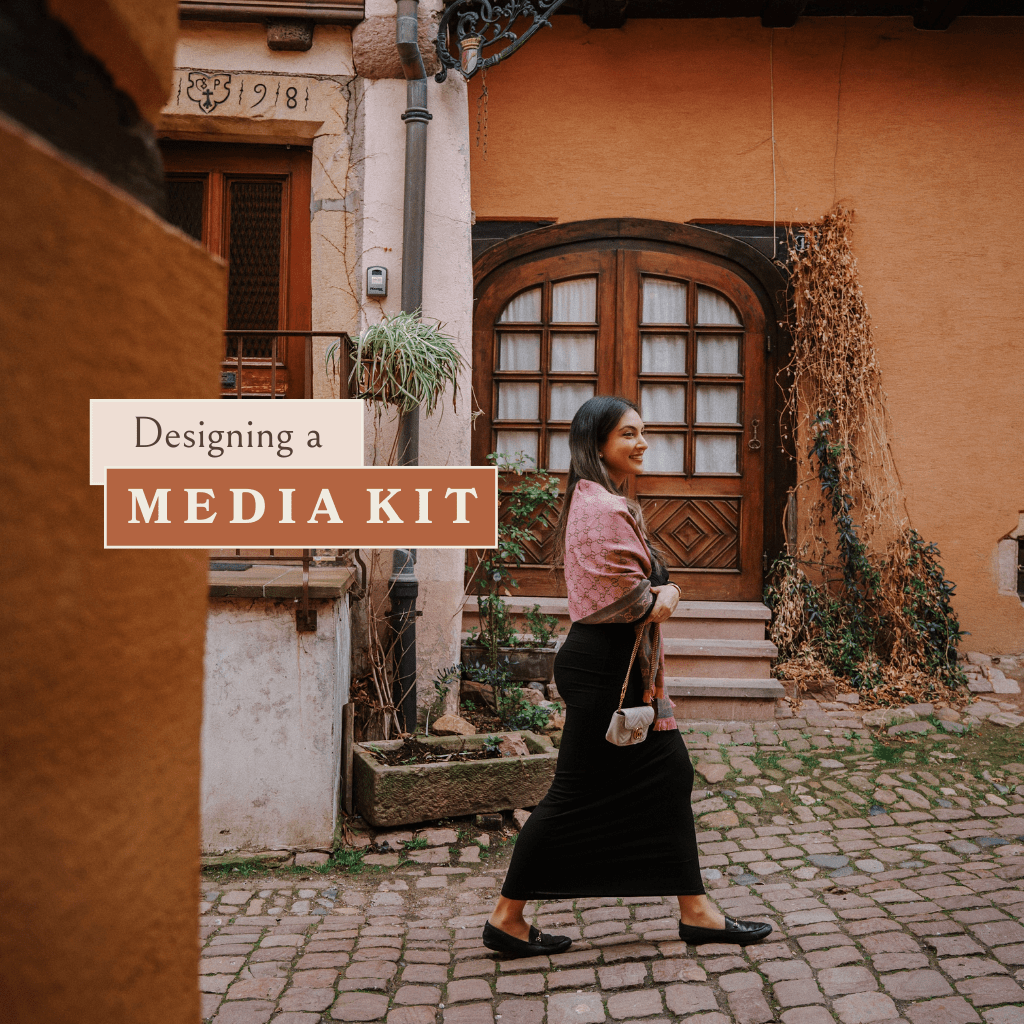
PS- Want to check out my Media Kit as a reference? Take a look here!
I’ve also included TONS of tips and tricks in this fully customizable template, that will help you design a kit that reflects your brand!
With all this being said, there are definitely some key tips to know when creating your Media Kit! In this post, I am going to share with you 5 tips to get started and create your media kit.
Tip #1- Keep it simple
If you’re just starting out with brand outreach, I recommend having a media kit that is no longer than 2 pages. Once you start to secure more work and brand deals, you can slowly start to lengthen your Media Kit.
If you’ve done 1 or 2 brand collabs in the past, you can easily showcase that on your 2 page Media Kit. I’ve completed 2 brand deals in the past, so to see how I laid everything out take a look at my Media kit here.
Tip #2- Talk about your Niche, specifics!!
Okay, super important tip here that I think is worth mentioning. Yes, it’s important to be specific on who your niche is, but how specific? Definitely try to include more than just ‘my followers are females in the travel space.’ Give them more! Give specifics. ‘My followers are x, who enjoy doing y and z. They’re interested in x, with a focus in y.’
Take a look at my Media Kit to find the exact guideline that I use, which clearly outlines who my followers are, what they’re looking for, and how my audience can help the brand I’m reaching out to.
Tip #3- Showcase your Best
In this section, we’ll talk about the different photos you should include in your Media kit.
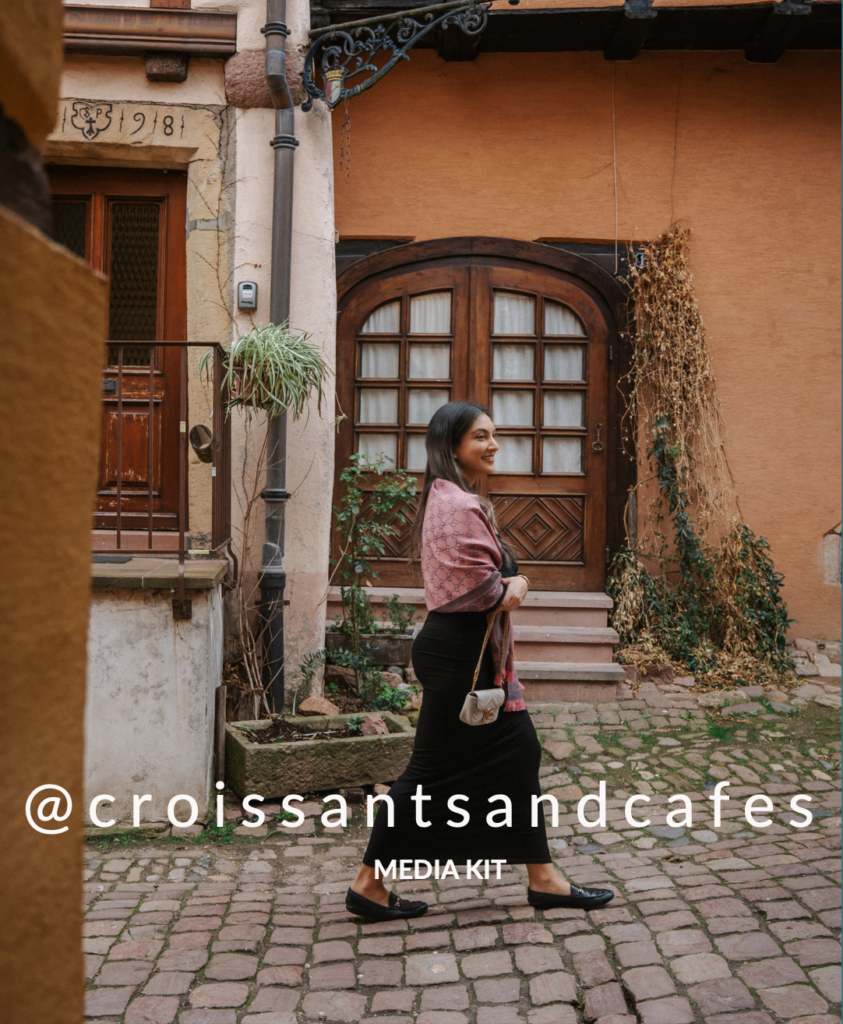
First, consider adding a headshot to your media kit. This can appear on the first page of your media kit, next to your name and right before your bio. In my media kit, my headshot is on the 2nd page. This is because the FIRST page is a cover image.
Should you include a cover image? This one is really up to your preference. I’ve included a cover image as my “first” page because I wanted to showcase my creative ability and editing style right off the bat. This could be a good option for you to include if you have a consistent theme to the photos and content you create.
Second, make sure to include any previous work or collabs you’ve done. The great thing about this is that if you haven’t done any brand collabs yet, you can include UGC style shots! Take photos around your house of items you love, and create a story behind them.
You can add 1-2 product shots/brand collabs to your first page. Take inspiration from my Media Kit for an example of how I did this.
Lastly, include anywhere from 4-6 shots showcasing your actual work, mood board aesthetic, and give the brand a glimpse into what working with you would look like.
Everyone has an individualistic style that makes them unique, so make sure this comes across in the photos that you are sharing. Whether it’s your specific style of color grading, the way you shoot, the emotions your photos evoke, give the brand a glimpse into what they’ll be getting when they choose to work with you.
Tip #4- Your Rate Card & Packages
The Rate Card should be the last thing you list on your Media kit. For mine, it is on the 2nd page (or 3rd, if you’re counting the cover image as #1).
In this section, you should list the different services you offer, with the prices listed out next to it. You can also include a bundle option after listing individual services & prices, which let’s the brand know they can purchase multiple offerings from you.
Make sure to include your rates for EACH of your advertising areas. For example, if you have an active IG account, blog, and TikTok, write out the rates for all 3. Let the brands know where all they can get exposure.
Tip #5- How to Get in Touch
Finally, make sure it’s easy for brands to contact you! This one may seem obvious, but brands shouldn’t have to scroll to the last page to find your contact info.
Try including a contact section in the footer of each page of your media kit. See how I achieved this in my Media Kit.
Make sure to include these 3 things in your Contact section: email, website, & ig handle.
If you’re interested to see exactly how I created my Media Kit to land brand & UGC property collabs, click on the link below!
This post was all about how to create a media kit in 5 simple steps.
Grab my MEDIA KIT below 👇🏽